· We, here at the Softpedia Labs, always recommend having an empty hard drive for a Linux installation (that means no other operating system on it, no Windows), and you must have a minimum of 10 GB free space for the Fedora installation.
Great, now let's begin. Insert or leave the DVD in your CD/DVD-ROM device, and reboot the computer in order to boot from the DVD. Hit the F8 or F12 key (depending on your BIOS) to select the CD/DVD-ROM as the boot device.
You'll be presented with a very nice Fedora artwork GRUB splash and some options...
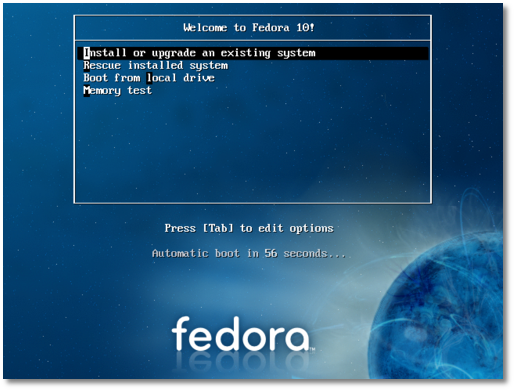 |
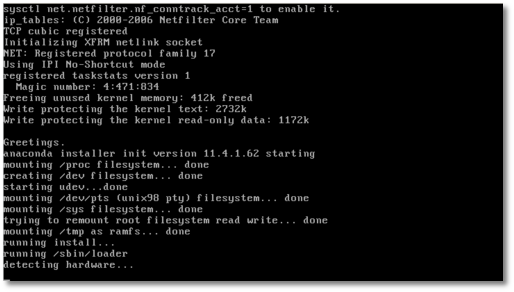
At this stage, we simply suggest you press Enter, and wait for the system to load...
 |
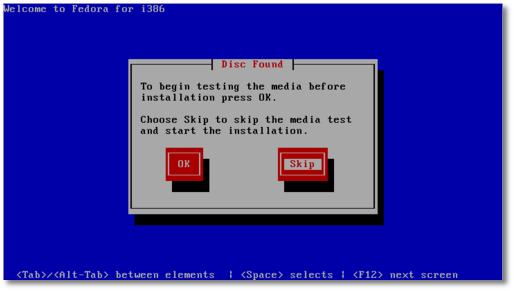
Select the "Skip" option when you're asked if you want to check the media before installation, and press "Enter"...
 |
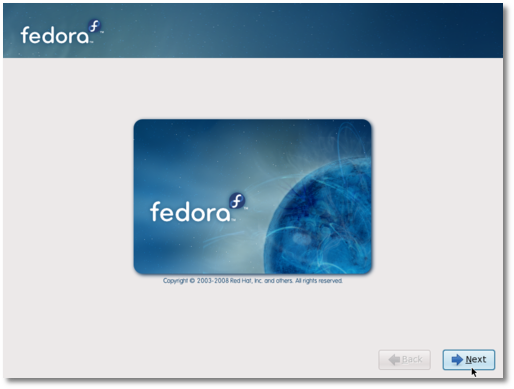
Anaconda (the Fedora installer) will load and you'll see the welcome screen. Click "Next"...
 |
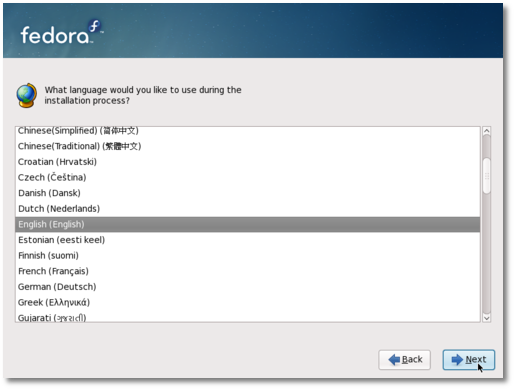
Choose your language...
 |
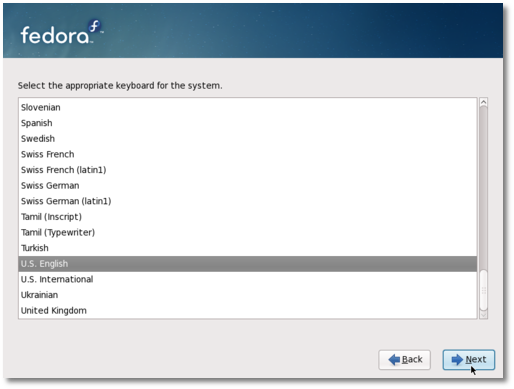
Choose your keyboard layout...
 |
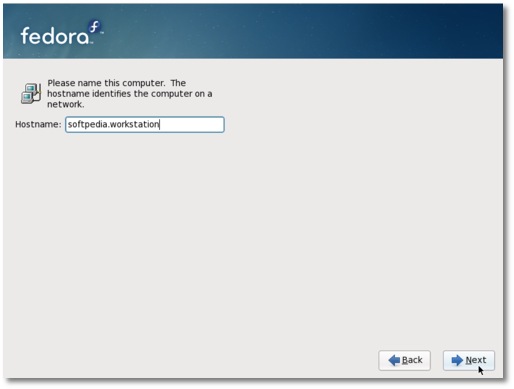
Type a name for the computer. It can be anything you want...
 |
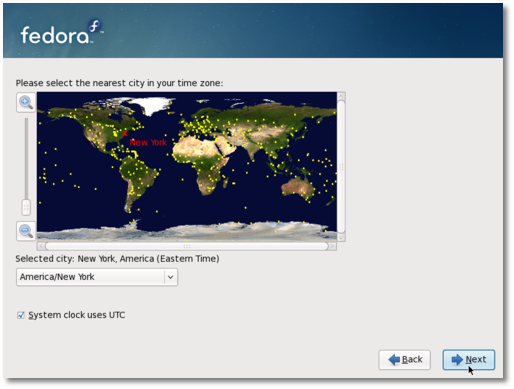
Select your location (country/city)...
 |
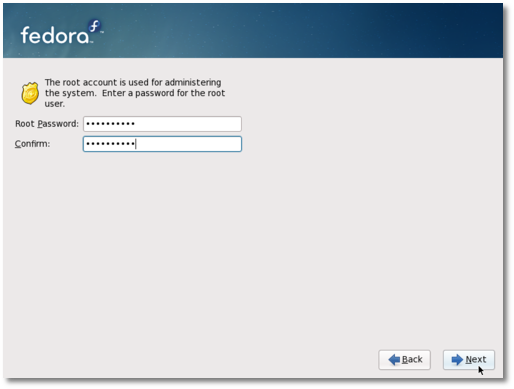
Enter the root (System Administrator) password. The longer, the better (WRITE IT SOMEWHERE)...
 |
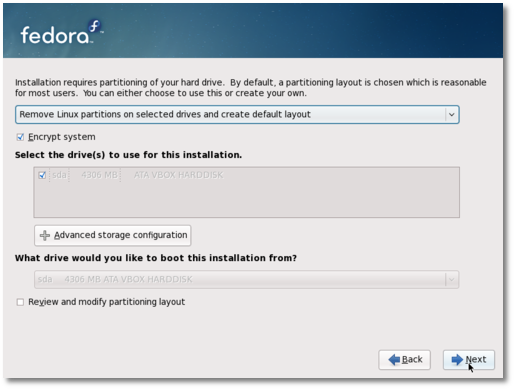
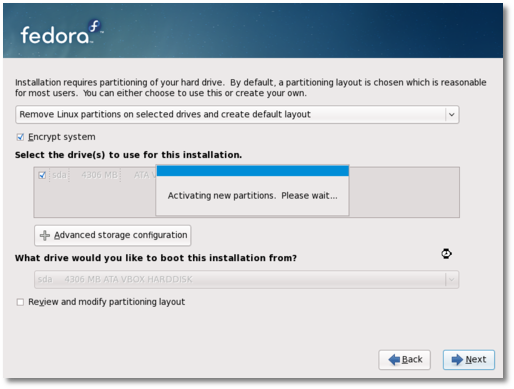
Here comes the partitioning part! If you have an empty hard drive, all you have to do is click "Next," but make sure the "Remove all partitions on selected drives and create default layout" option is selected. If you don't have an empty hard drive and you still want to install Fedora 10 on your machine, then make sure you select the "Use free space on the selected drives and create default layout" option (10 GB minimum of free space is required). Click "Next"...
 |
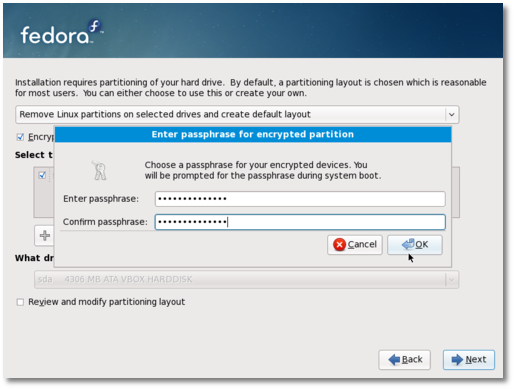
We also recommend to select the "Encrypt system" option. Enter a password (the longer, the better) for the encrypted partition...
 |
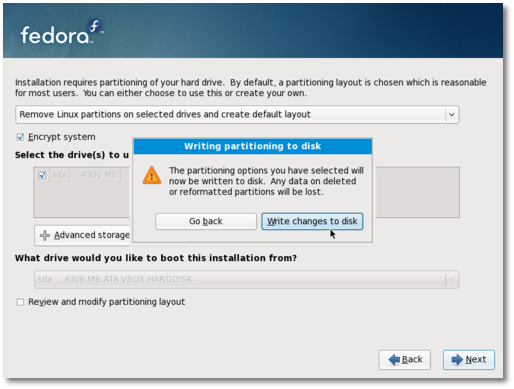
Click the "Write changes to disk" button when asked...
 |
The hard drive will be formatted and the partitions will be created...
 |
Now, you can select the desired packages...
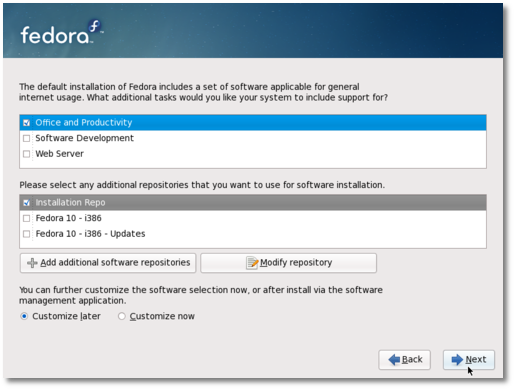 |
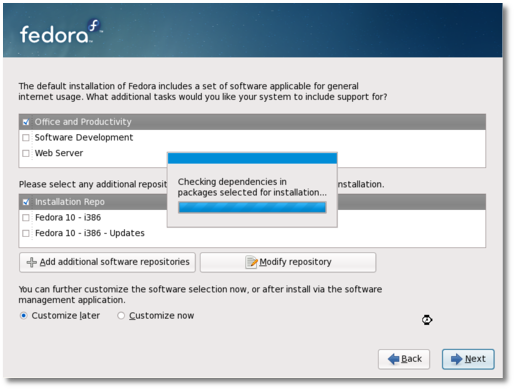
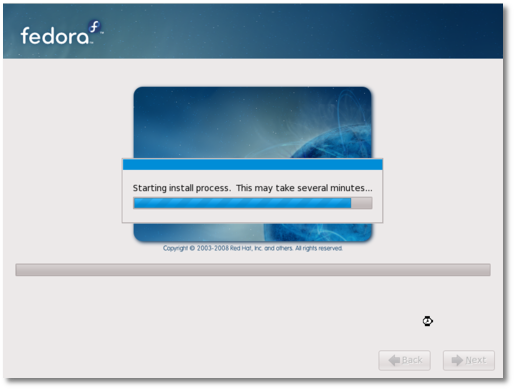
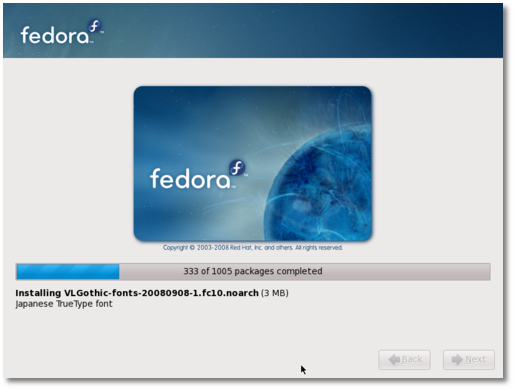
Hit the "Next" button and everything will be done automatically from now on, just sit back and watch how the packages are copied to your hard drive, or you can read the latest news while enjoying a cup of coffee. The installation process will take about 8-10 minutes (depending on your computer specs and the selected packages).
 |
 |
 |
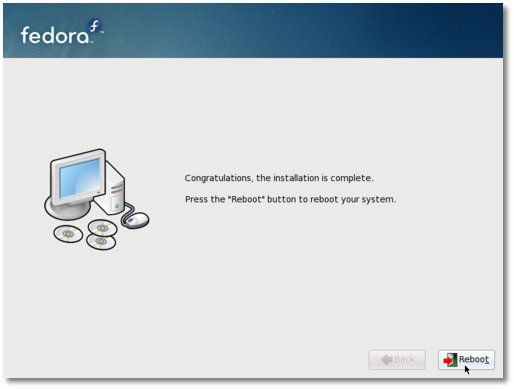
When the installation is over, you will get a "Congratulations, the installation is complete" screen. Click the "Reboot" button and your computer will automatically restart...
 |
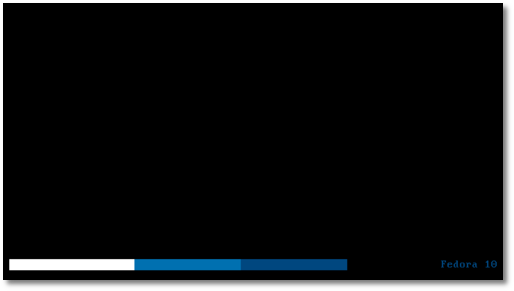
Remove the DVD from your optical drive. Your brand new Fedora 10 operating system will boot for the first time...
 |
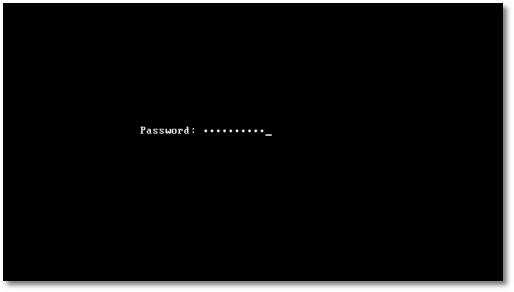
If you've chosen to encrypt your partition, then you'll be prompted for the passphrase...
 |
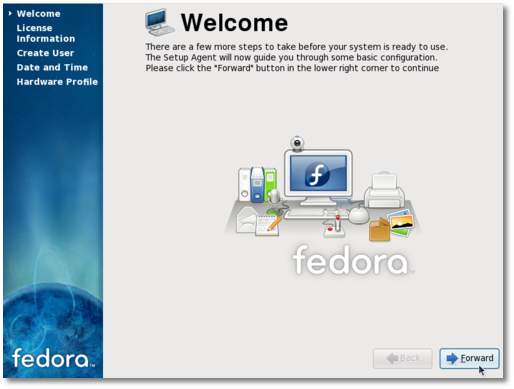
The system will continue to boot and in a few seconds you will see the First Boot Configuration Wizard. Click "Forward" on the Welcome screen...
 |
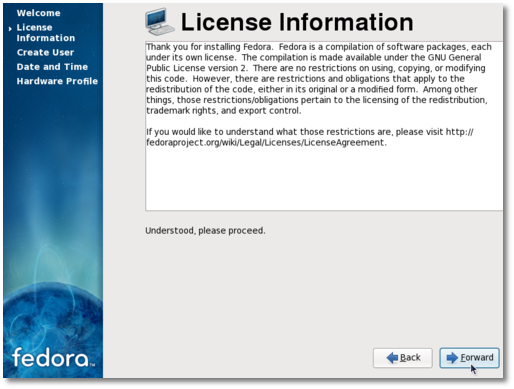
Click "Forward" on the License screen...
 |
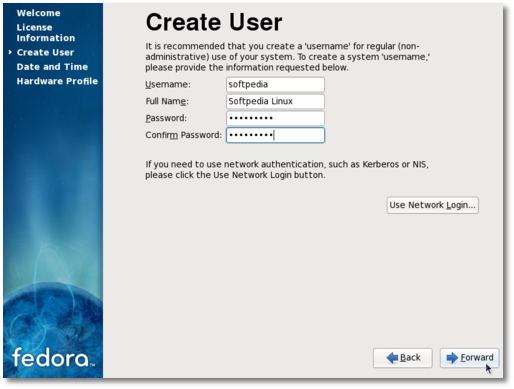
Create a regular user for the system...
 |
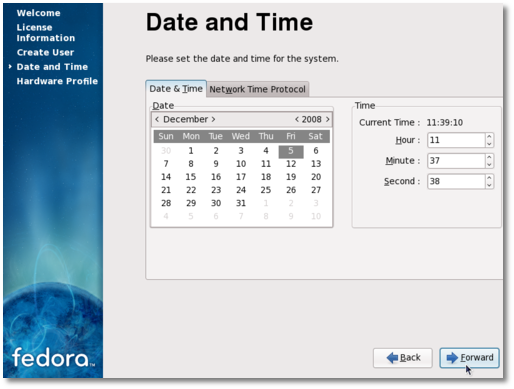
Set the date and time...
 |
Send your hardware profile to the Fedora Project (optional)...
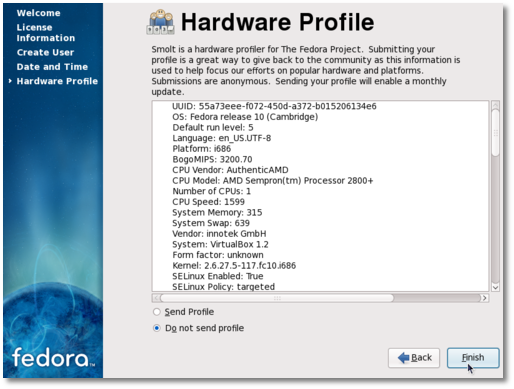 |
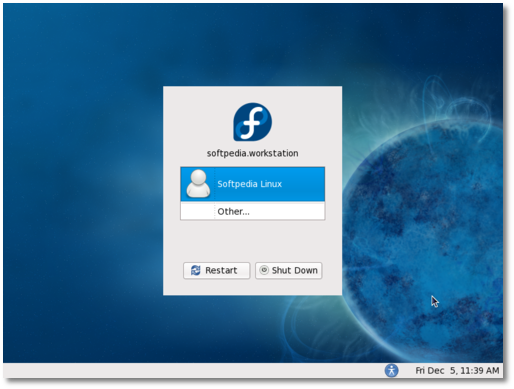
Click "Finish" and you will see the login screen. Enter the password for the regular user you've just created...
 |
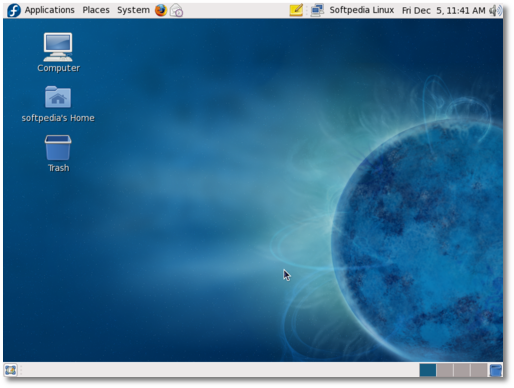
That's it! Enjoy the ultimate and breathtaking Fedora 10 Linux distribution!
 |


 ; maka tulisan Open File - Security Warning akan muncul. Jika sudah, klik
  untuk mengaktifkan progress status bar yang akan muncul setelah sekitar satu menit atau mungkin lebih, tergantung dari kecepatan komputer anda. Setelah component avast! dikeluarkan, sebuah dialog akan diaktifkan seperti dibawah ini
 untuk mengaktifkan box dialog seperti dibawah:

 untuk menyelesaikan prosedur instal software. Setelah beberapa saat , ikon avast! akan terlihat di System Tray anda sebagai berikut:


 di System Tray (refer to Figure 4) untuk mengaktifkan user utama interface avast!, lalu klik
  untuk menampilkan detail Current Status seperti berikut:
 untuk mengaktifkan avast! main user interface (Figure 10).
 (through MAINTENANCE and Registration menu items) untuk menyalakan dua layar seperti dibawah ini dengan cepat:

 untuk sekali lagi mengaktivasi Figure 2 , yang akan diikuti oleh layar dibawah ini:
 untuk mengaktifkan layar berikut:
 untuk mengakses panel YOUR REGISTRATION di main user interface seperti berikut:

